

iPagePro Stylesheet Tips & Tricks
Check back often to get the latest tips & tricks for making your iPagePro Website look professional
When you log into your administration center you will se two drop down menus in the top navigation. If you use the "Site Settings" drop down and select "Site Styles" you will be on the "Site Styles" page.
Background Positioning and Tiling
By default any background image for the site is positioned at the top of the page and centered horizontally on the page. It also tiles horizontally and vertically. Below are some custom CSS snippets to change how the background image is positioned and tiled.
Keep Background Positioning default but Tile Horizontally only:
body { background-repeat: repeat-x; }
Keep Background Positioning default but Tile Vertically only:
body { background-repeat: repeat-y; }
Keep Background Positioning default but don't Tile Background:
Example: http://www.ipagepro.com/csstestandexamples/home/
body { background-repeat: no-repeat; }
 Removing Sidebar Completely
http://www.ipagepro.com/csstestandexamples/home/
When you want to remove the sidebar completely just click into the main content area and then choose 'hide" under the "Sidebar Visibility"


Adding an Image to the Wrapper
http://ipagepro.com/csstestandexamples/wrapper/
The area behind the text within the body of the website is called the wrapper. In order to insert a background image in the wrapper you will need to add the following code.
#wrapper { background: url (insert image url here); }
#wrapper { padding: 200px 20px 40px; }
Note: The code will have to be adjusted to fit the site and look that you are working on. Here is the code that was used on the example website
#page4 #wrapper { background-image: url("http://www.ipagepro.com/csstestandexamples/logos/memphiswrapper.jpg"); padding: 10px 10px 380px 12px;}
Changing the Color of the Wrapper
In order to simply change the background color of the wrapper you will need to add the following code.
#wrapper { background-color:#434343; }
If you are going to change the background color to a dark color then you need to change the text to a lighter color. DO NOT do this in the editor - do it via CSS
#wrapper p {color:#ffffff}
If you update the sidebar to a dark color you have to do this as well. You MUST update the text color using CSS and not inline html styling!
#sidebar p {color:#fff}
#sidebar h5 {color: #F3E89E}
#sidebar a {color: #F3E89E}

Gallery Page Styling
http://www.ipagepro.com/csstestandexamples/gallery/
To get 2 images across for a gallery page change the width of the image-container.
.gallery-container div { width:50%; }
When you do this the images are wide and very short to fix that increase the height of the span.
.gallery-container span { height:382px; }
You're going to have to adjust the height based on the images and your best judgement
 Lock the Background in Place
If you want the only the body of the website to scroll up and down but have the background remain fixed in one place then use the following code.
body {
background-image:url('bg.jpg');
background-repeat:no-repeat;
background-attachment:fixed;
}
 Style a DIV with a Gradient and Float
http://ipagepro.com/csstestandexamples/Gradient/
In your html create multiple divs in a row with the same class, in the example below we will use the class "box".

If you want another row of divs you need to break the float with a div that has the clear style on it. This will make a new line of floated divs, you also need to add this to the end of your divs so that text below the row will sit in the right position.
![]()
Now for CSS
/*CSS For Gradient div*/
.box {
background-color: #FAFAFA;
width: 165px;
padding:20px;
height:auto;
position:relative;
color: #000000;
border-radius:10px;
background: linear-gradient(#ebebeb, #cfcfcf);
float: left;
margin: 4px;
/*End CSS for Gradient div*/
float:left; makes the divs sit next to each other but it also makes other page elements sit next to divs so you need to use them to stop the items below from floating next to the div.
Image Styling in the Content
http://ipagepro.com/csstestandexamples/images/
Thanks to the wonders of CSS you can style images in CSS instead of adding borders and drop shadows in Photoshop. Create a class, or different classes  depending on what you want to do, to add to your images in the html.
example html:
img class="pic" src="img.jpg"
img class="picborder" src="img2.jpg"
img class="picborderradius" src="img3.jpg"
To add a margin (spacing around the image), white border and a drop shadow you can use CSS similar to this
.pic {margin:30px 10px 20px 20px; border:2px #fff solid; box-shadow: #666 0px 2px 3px;}
To add a border to the image with some margin and NO drop shadow the CSS would look something like this
.picborder {margin: 5px; border: 5px blueviolet solid;}
To change the corners from straight corners to rounded corners you want to change the border radius
.picborderradius {border-radius: 15px;}
To make a circular image - crop your image to be a square first and then add this CSS
.piccircle {border-top-left-radius: 50% 50%; border-top-right-radius: 50% 50%; border-bottom-right-radius: 50% 50%; border-bottom-left-radius: 50% 50%;}
Want to make and image appear in grayscale without pulling it into photoshop? Filters
.picgrayscale { -webkit-filter: grayscale(1); filter: grayscale(1);}
You can find other filters here: https://css-tricks.com/almanac/properties/f/filter/
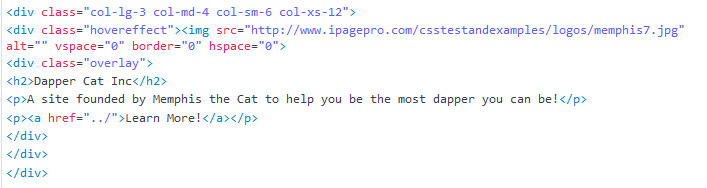
Super Fancy Image Hover Overlay
http://ipagepro.com/csstestandexamples/images/
HTML
CSS
/*CSS for Image Hover*/
.hovereffect {
  width: 100%;
  height: 100%;
  float: left;
  overflow: hidden;
  position: relative;
  text-align: center;
  cursor: default;
}

.hovereffect .overlay {
  position: absolute;
  overflow: hidden;
  left: 1%;
  top: 30%;
  border-bottom: 1px solid #FFF;
  border-top: 1px solid #FFF;
  -webkit-transition: opacity 0.35s, -webkit-transform 0.35s;
  transition: opacity 0.35s, transform 0.35s;
  -webkit-transform: scale(0,1);
  -ms-transform: scale(0,1);
  transform: scale(0,1);
}

.hovereffect:hover .overlay {
  opacity: 1;
  filter: alpha(opacity=100);
  -webkit-transform: scale(1);
  -ms-transform: scale(1);
  transform: scale(1);
}

.hovereffect img {
  display: block;
  position: relative;
}

.hovereffect:hover img {
filter: hue-rotate(90deg);
}

.hovereffect h2 {
  text-align: center;
  position: relative;
  font-size: 20px;
  background-color: transparent;
  color: #FFF!important;
  padding: 1em 0;
  }

.hovereffect a, .hovereffect p {
  color: #FFF!important;
  padding: 1em 0;

}
/*End Image Hover*/
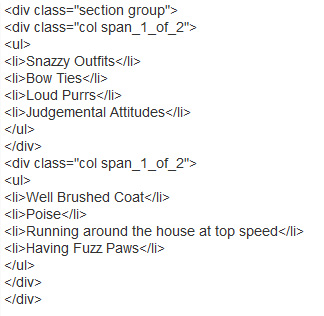
Adding Columns to a page WITHOUT using a Table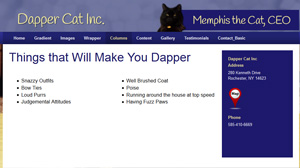
HTML
CSS
/*CSS for Columns*//* COLUMN SETUP */.col { display: block; float:left; margin: 1% 0 1% 1.6%;}.col:first-child { margin-left: 0; }/* GROUPING */.group:before,.group:after { content:""; display:table; }.group:after { clear:both;}.group { zoom:1; /* For IE 6/7 */ }/* GRID OF TWO */.span_2_of_2 { width: 100%;}.span_1_of_2 { width: 49.2%;}/* GO FULL WIDTH AT LESS THAN 480 PIXELS */@media only screen and (max-width: 480px) { .col { margin: 1% 0 1% 0%; }}@media only screen and (max-width: 480px) { .span_2_of_2, .span_1_of_2 { width: 100%; }}/*End Columns CSS*/
Turning a Link Into a Button
http://ipagepro.com/csstestandexamples/home/
In your HTML add a class="button" to the a tag

CSS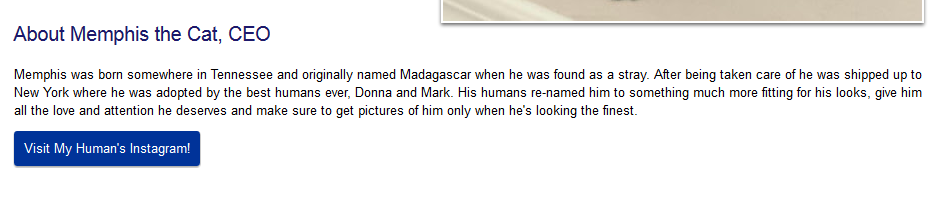
.button { padding: 10px; margin-bottom: 5px; border-radius: 3px; background: #FC4600; box-shadow: #999 0px 1px 1px; text-decoration: none; color: white !important;}.button:hover {background-color: #007741}
And then just adjust the colors to match the website!
Full Width iPages
http://ipagepro.com/csstestandexamples/
You can download a basic template for the background image
For a full width ipage site there are going to be a lot of variations and all the CSS is going to have to be adjusted based on the design - but here is some starter code.
body {background-repeat: no-repeat;} wrapper {background-color:#fff}
You may also need to adjust the margins (usually margin-top or margin-bottom) of the header, banner and nav bar as well - but it all really depends on the background. You are going to have to rely on the inspector a little bit more and play with the CSS in order to get the page to look right.
If you are going to leave the whole background of the ipage completely white then please include:
#footer {width:100%}